Introduction
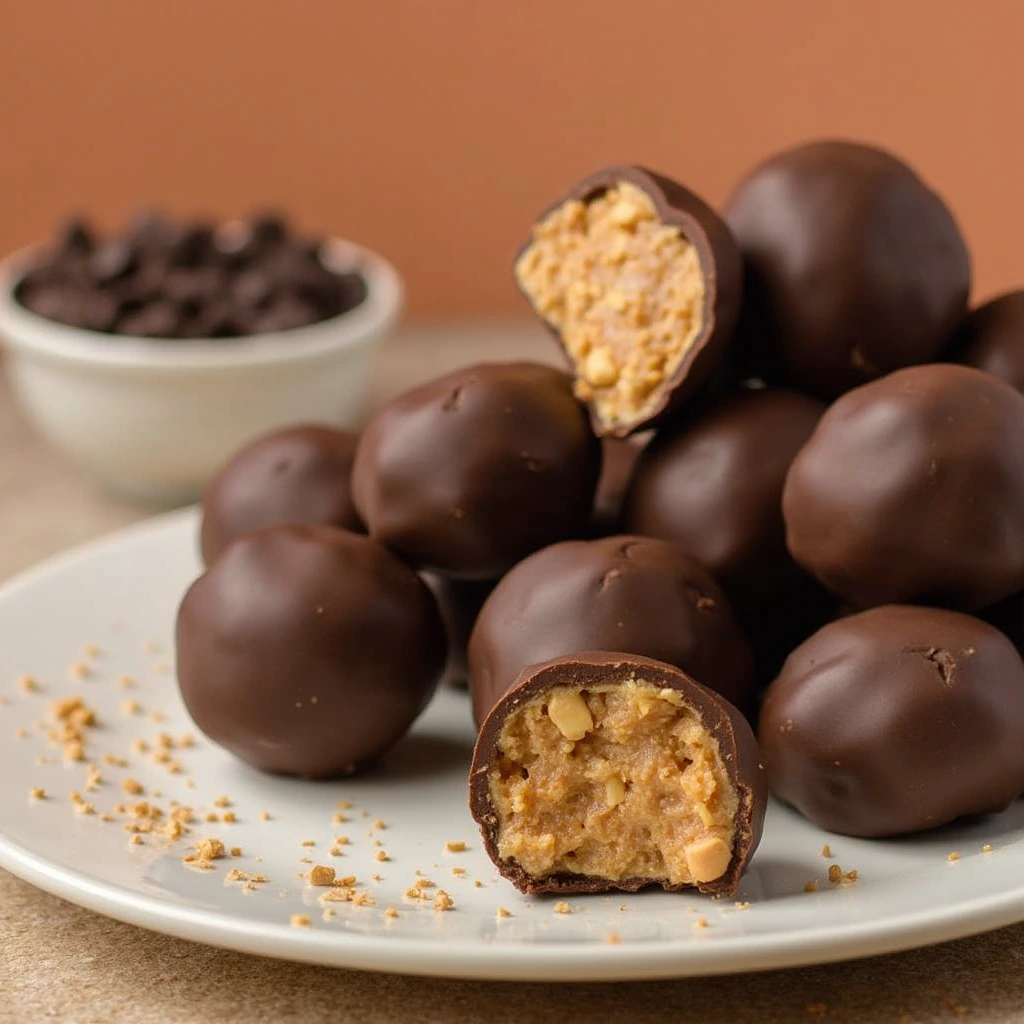
If you’re looking for a no-bake dessert that’s simple to make and irresistibly delicious, this Butterfinger Balls Recipe is just what you need! Made with crushed Butterfinger candy, creamy peanut butter, and a luscious chocolate coating, these bite-sized treats are perfect for parties, holidays, or an indulgent snack. The best part? They’re ready in just 20 minutes with no baking required!
Prep Time, Cook Time, Servings
- Prep Time: 15 minutes
- Chill Time: 5 minutes
- Total Time: 20 minutes
- Servings: 24 balls
Nutrition Facts About Butterfinger Balls Recipe
| Nutrition Facts | Per Serving |
|---|---|
| Calories | 120 kcal |
| Fat | 7 g |
| Carbs | 12 g |
| Protein | 2 g |
Why You’ll Love Butterfinger Balls Recipe
- Quick and Easy: No baking required and ready in just 20 minutes.
- Perfect for Any Occasion: Great for parties, holidays, or gifting.
- Irresistibly Delicious: A rich blend of Butterfinger candy, peanut butter, and chocolate.
- Make-Ahead Friendly: Store in the fridge or freezer for easy snacking anytime.
Ingredients You’ll Need For Butterfinger Balls Recipe
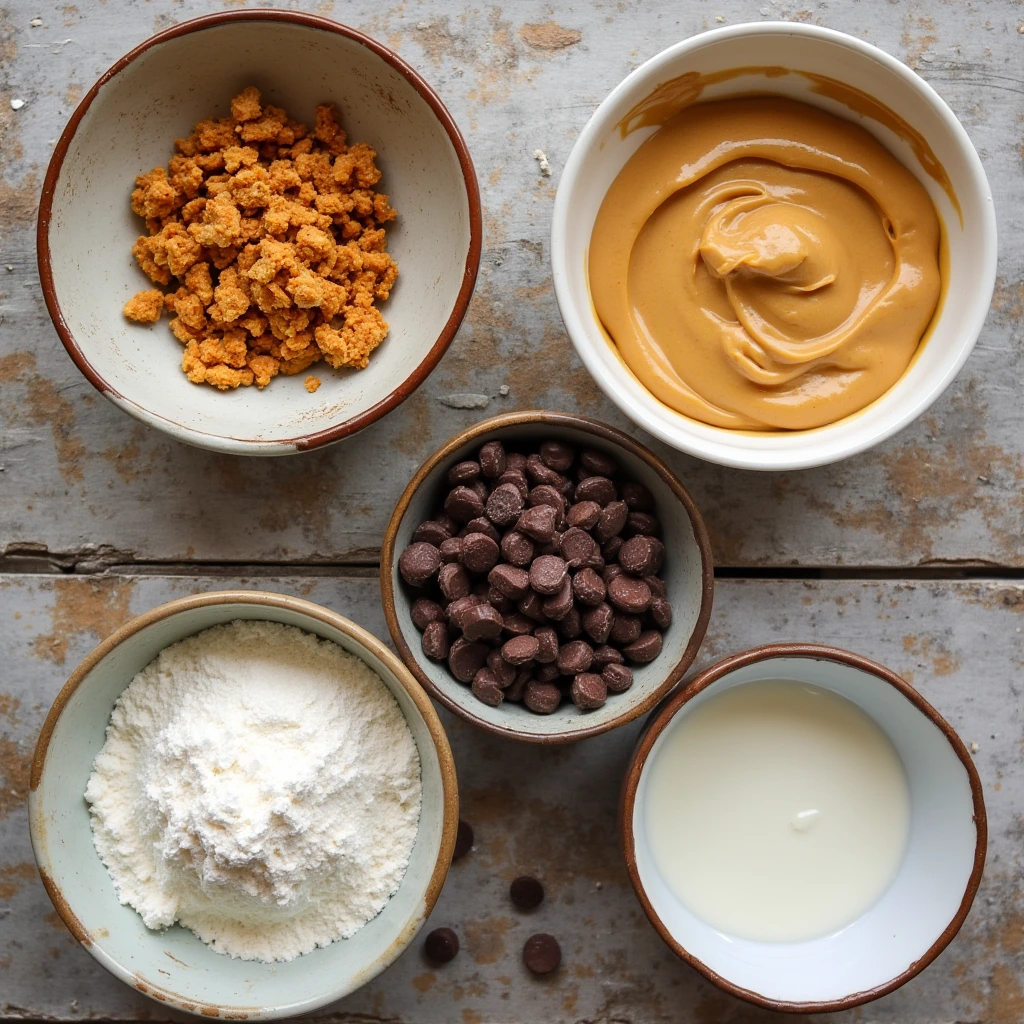
- 1 cup crushed Butterfinger candy bars
- 1 cup creamy peanut butter
- 2 cups powdered sugar
- 2 cups semisweet chocolate chips
- 1 tbsp coconut oil (optional, for smooth coating)


Step-by-Step Instructions For Butterfinger Balls Recipe
1. Crush the Butterfinger Candy Bars
- Place the Butterfinger candy bars in a zip-top bag and crush them using a rolling pin or food processor until they’re finely crumbled.
2. Make the Dough
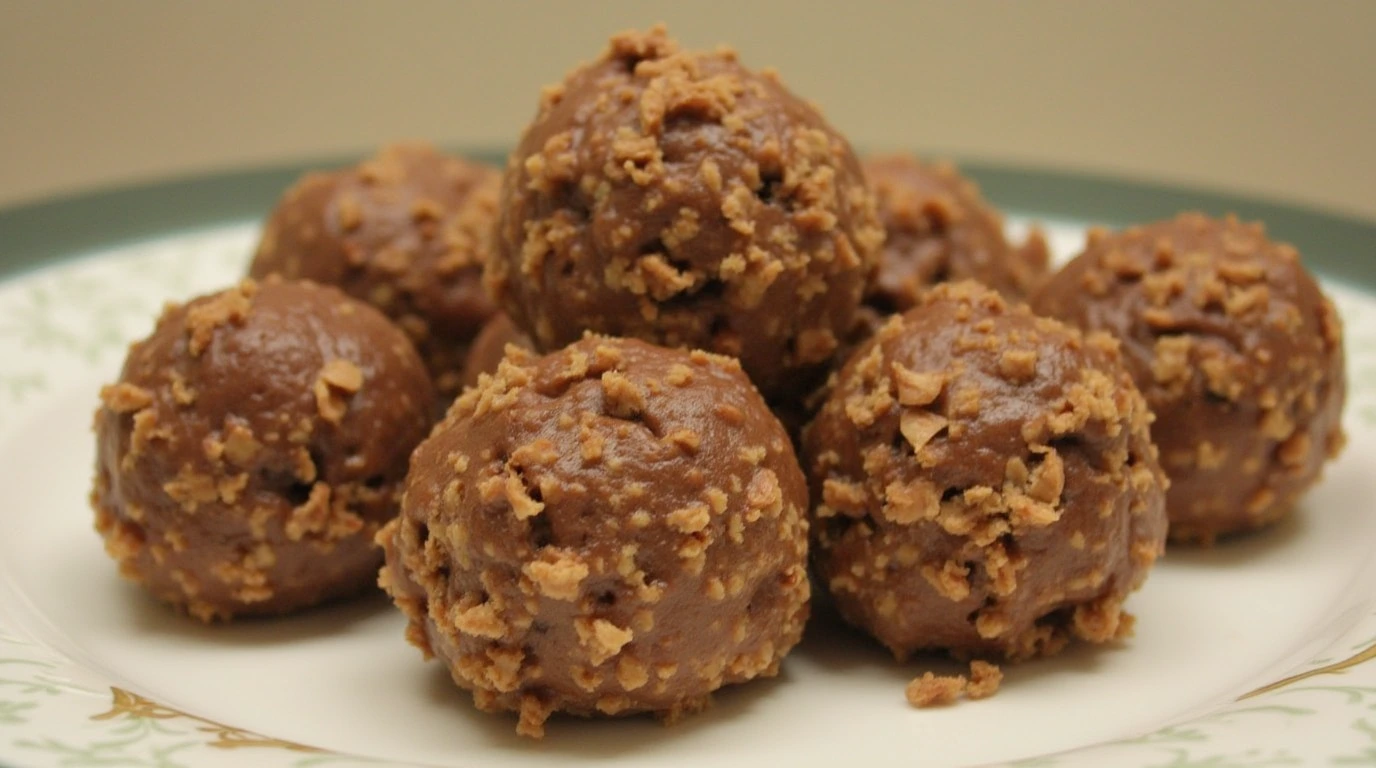
- In a large mixing bowl, combine crushed Butterfinger, peanut butter, and powdered sugar. Mix well until a dough-like consistency forms.
3. Shape into Balls
- Form the mixture into balls measuring 1 inch in diameter and arrange them on a baking sheet that has been lined with parchment paper. Refrigerate for 5 minutes to firm up.
4. Melt the Chocolate
- In a bowl suitable for microwave use, heat the chocolate chips and coconut oil (if applicable) in intervals of 30 seconds, stirring after each interval, until the mixture becomes smooth and glossy.
5. Coat the Balls
- Enrobe the Balls Utilizing a fork or toothpick, immerse each ball into the melted chocolate, making certain that it is completely covered.
6. Chill and Serve
- Refrigerate the coated balls for another 5 minutes, or until the chocolate hardens. Serve and enjoy!
Pro Tips for the Best Butterfinger Balls Recipe
- Use Room-Temperature Peanut Butter: It’s easier to mix and creates a smoother texture.
- Customize the Coating: Add sprinkles, crushed nuts, or a drizzle of white chocolate for extra flair.
- Store Properly: Keep in an airtight container in the fridge for up to a week or freeze for up to a month.
Serving Suggestions For Butterfinger Balls Recipe
- As a Dessert Tray: Pair with other bite-sized treats like truffles or cookies.
- For Gifting: Wrap in decorative boxes or treat bags for a thoughtful homemade gift.
- Holiday Spread: Include in your Christmas or Halloween dessert table.
Frequently Asked Questions About Butterfinger Balls Recipe
- Can I use crunchy peanut butter?
Yes! Crunchy peanut butter adds an extra texture to the balls. - How do I store Butterfinger Balls?
Keep the item in an airtight container and refrigerate it for a maximum of one week or place it in the freezer for extended preservation. - What if I don’t have Butterfinger candy bars?
Substitute with other crushed candy bars like Reese’s or Heath for a unique twist.
The Story Behind Butterfinger Balls
These bite-sized treats are a modern twist on the classic no-bake dessert. Combining the crunchy, peanut butter flavor of Butterfinger candy bars with a smooth chocolate coating, they’ve become a favorite for holidays and celebrations. This Butterfinger Balls Recipe takes the nostalgic flavors of Butterfinger candy and transforms them into an easy-to-make dessert that’s perfect for sharing.
Related Recipes To Butterfinger Balls Recipe
Share Your Thought!

