Introduction
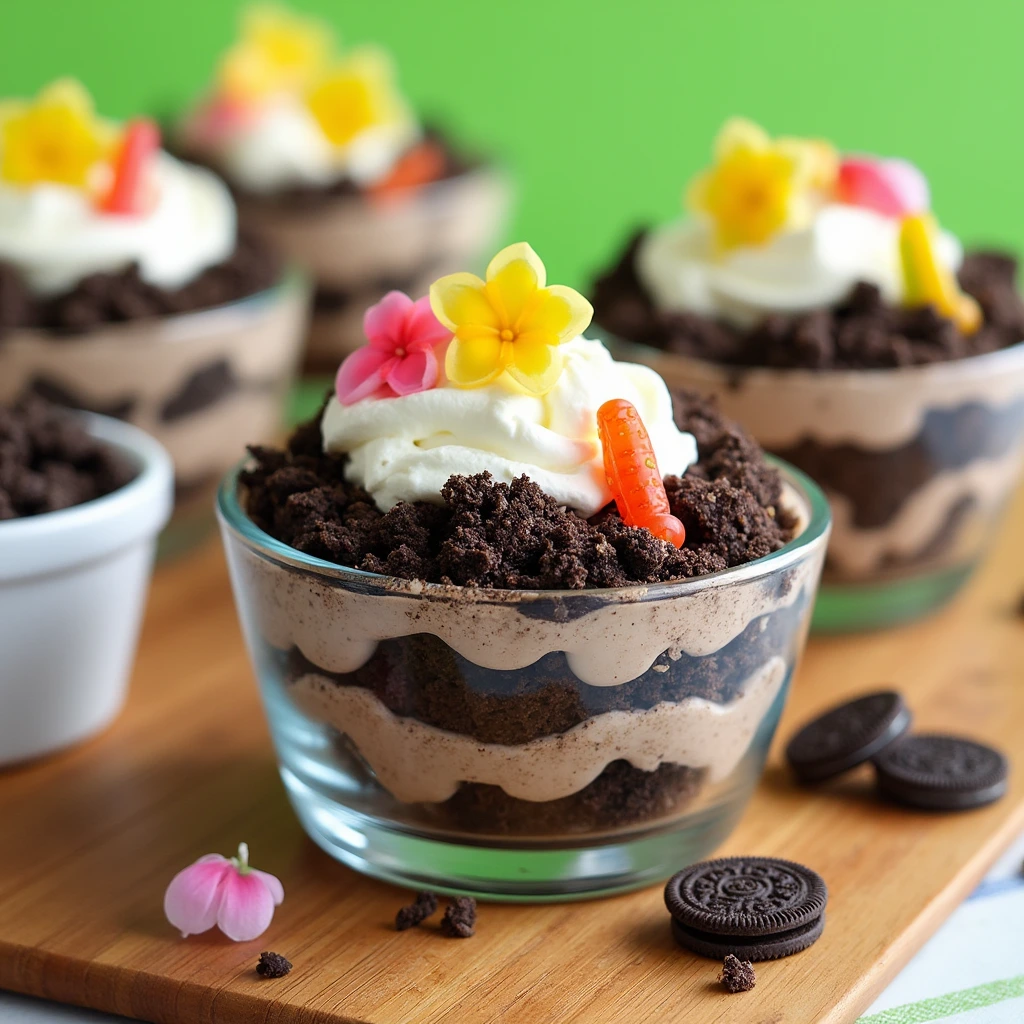
Who doesn’t love a dessert that’s as fun as it is delicious? Dirt Cake is the ultimate nostalgic treat, combining creamy layers of pudding, crushed Oreos, and a playful garnish of gummy worms or candy flowers. Perfect for parties, potlucks, or just because, this no-bake dessert is a guaranteed crowd-pleaser. What factors contribute to elevating a dirt cake recipe from good to truly exceptional? In this guide, we’ll reveal 10 secrets to ensure your dirt cake is always a sweet success.
Preparation Details For Dirt Cake Recipe
- Prep Time: 20 minutes
- Chill Time: 1 hour
- Total Time: 1 hour 20 minutes
- Servings: 8-10
Nutrition Facts (Per Serving) : Dirt Cake Recipe
| Calories | Protein | Fat | Carbs |
|---|---|---|---|
| 310 kcal | 4 g | 15 g | 40 g |
Why You’ll Love Dirt Cake Recipe
- Kid-Friendly Fun: A hit at birthday parties and family gatherings.
- No-Bake Convenience: Quick and easy to make without turning on the oven.
- Versatile: Customize with different flavors or decorations.
- Crowd-Pleasing: Loved by kids and adults alike.
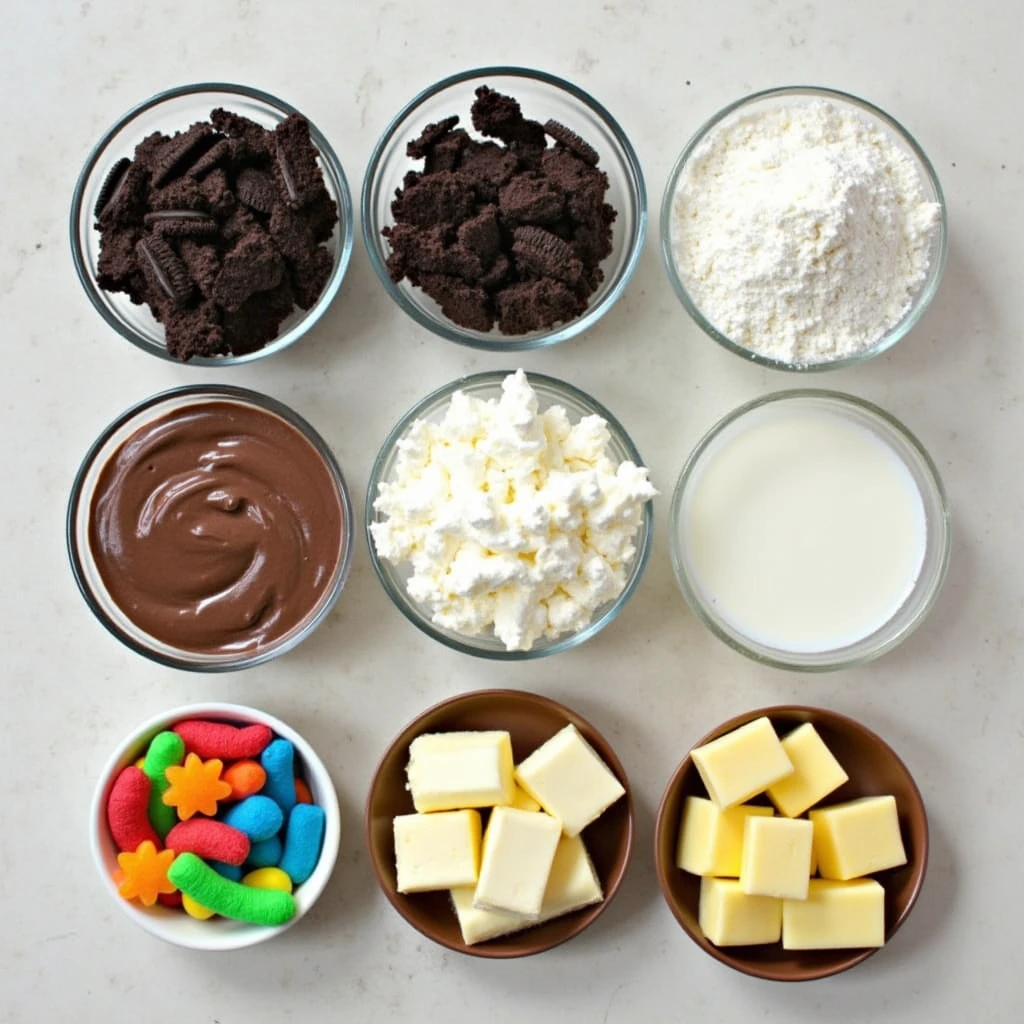
Ingredients List For Dirt Cake Recipe
- 1 package (14 oz) of Oreo cookies
- 8 oz cream cheese, softened
- 1 cup powdered sugar
- 2 packages (3.4 oz each) instant chocolate pudding mix
- 3 cups cold milk
- 12 oz whipped topping (Cool Whip)
- 1/4 cup unsalted butter, softened
- Gummy worms or candy flowers for garnish


Ten Essential Tips for Crafting the Ultimate Dirt Cake Recipe.
1. Use Double-Stuffed Oreos
- The extra cream filling adds a richer texture and sweetness to your dirt cake.
2. Crush Oreos to the Perfect Texture
- Use a food processor for fine crumbs or a zip-top bag and rolling pin for a chunkier texture.
3. Soften Your Cream Cheese
- Allow the cream cheese to come to room temperature for a smooth, lump-free mixture.
4. Mix the Pudding Properly
- Beat the instant pudding mix and cold milk until thick and creamy to avoid a runny texture.
5. Layer for Even Flavor
- Alternate layers of Oreo crumbs and pudding mixture evenly for a perfect bite every time.
6. Add Butter for a Richer Base
- Blend softened butter into the cream cheese mixture to create a velvety texture.
7. Chill Before Serving
- Refrigerate for at least an hour to let the flavors meld together and firm up the dessert.
8. Get Creative with Garnishes
- Top with gummy worms for a playful look or candy flowers for a more elegant presentation.
9. Use Clear Serving Dishes
- A glass trifle bowl or individual cups showcase the beautiful layers of your dirt cake.
10. Make It Ahead
- Dirt cake tastes even better the next day, making it a perfect make-ahead dessert.
Step-by-Step Instructions For Dirt Cake Recipe
Step 1: Crush the Oreos
- Place Oreos in a food processor and pulse until finely crushed. Set aside 1/2 cup for garnish.
Step 2: Prepare the Pudding
- In a spacious bowl, combine the pudding mix and cold milk, whisking until the mixture thickens. Chill in the refrigerator.
Step 3: Make the Cream Cheese Mixture
- In another bowl, beat softened cream cheese, butter, and powdered sugar until smooth and creamy. Fold in the whipped topping.
Step 4: Combine the Layers
- Combine the pudding mixture with the cream cheese mixture by gently folding until thoroughly blended.
Step 5: Assemble the Dirt Cake
- In a trifle dish or individual cups, layer crushed Oreos, pudding mixture, and repeat until all ingredients are used. Apply a final layer of crushed Oreo cookies on the surface.
Step 6: Add Garnishes
- Decorate with gummy worms, candy flowers, or additional Oreo crumbs for a fun and festive look.
Step 7: Chill and Serve
- Refrigerate for at least 1 hour before serving. Enjoy the creamy, chocolatey goodness!
Pro Tips for Dirt Cake Recipe
- Double the Oreos: Add extra layers for an ultra-decadent dirt cake.
- Personalize It: Try vanilla pudding or crushed graham crackers for a unique twist.
- Add Fresh Fruit: Incorporate sliced strawberries or bananas for a fruity kick.
Serving Suggestions
- Perfect for Parties: Serve in a large trifle dish to feed a crowd.
- Individual Servings: Use mason jars or clear plastic cups for easy single portions.
- Holiday Fun: Customize with seasonal candies or sprinkles for any celebration.
Check out this other delicious Recipes!
Share Your Thoughts!


Comments are closed.